 べあ
べあvol.1では整地(掘って→均して→転圧)の模様をお届けしています。
 ぐら
ぐら第三回(2021年11月7日)
第一回、第二回で掘って均して転圧をしたので、今日は水平を測ります。
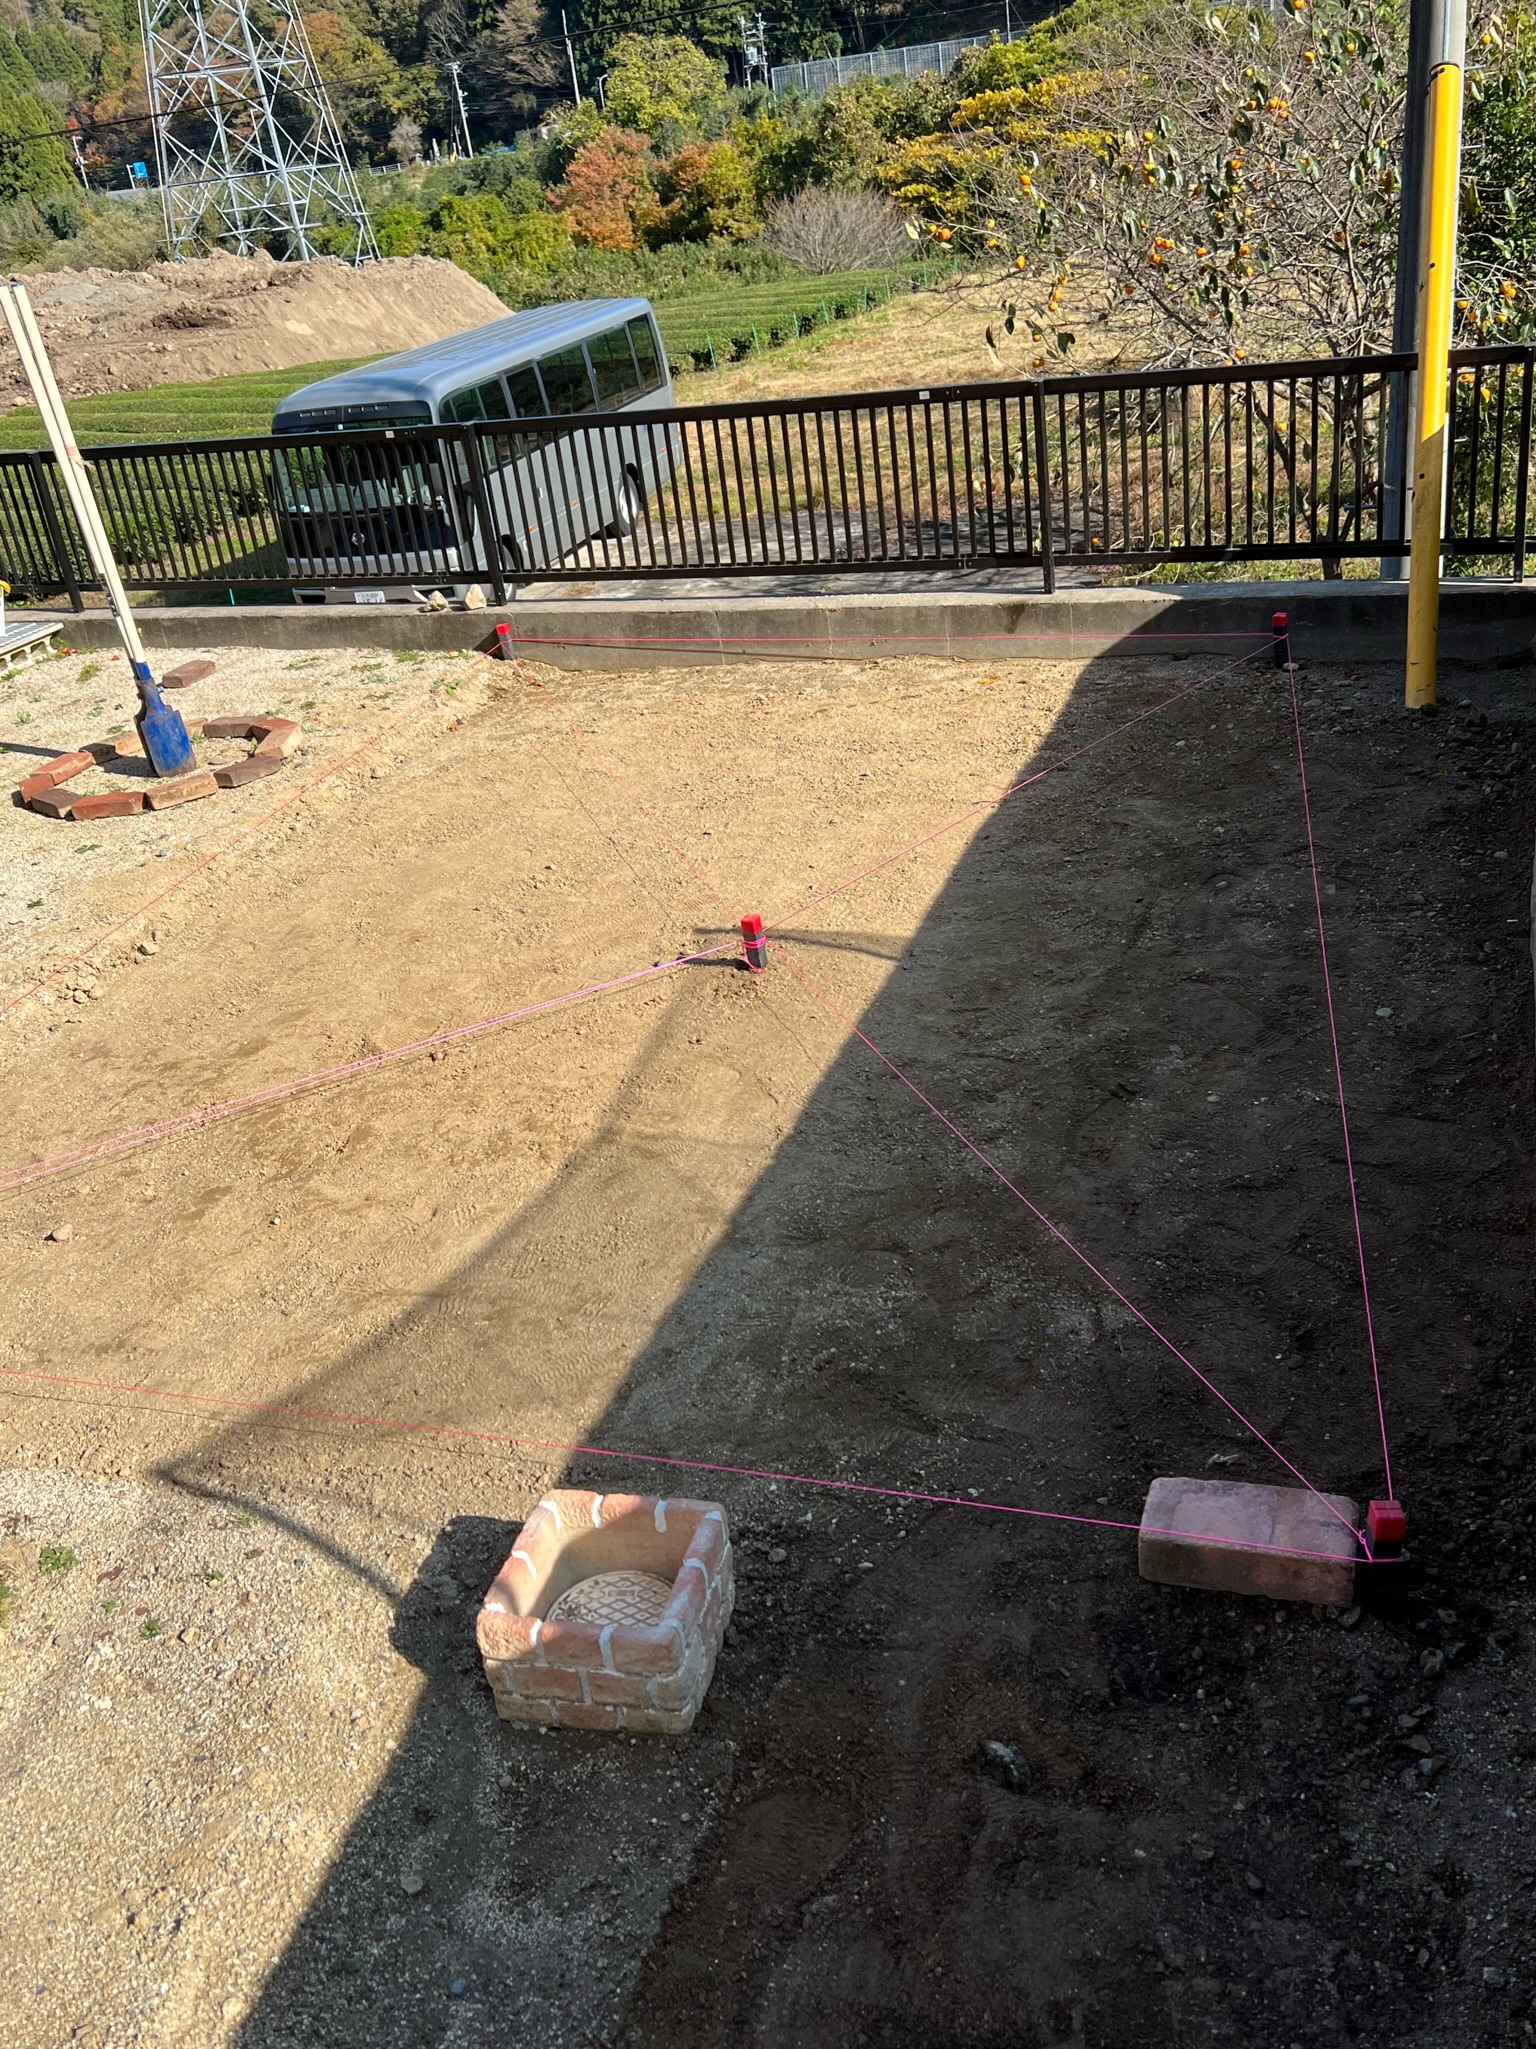
水平を測ろう
水平を測るのに用意したものはこちら!
- 支柱2本
- 透明なチューブ(塩化ビニールチューブ)
- 水糸
- 境界杭
- 水
- ハンマー
支柱の準備
2本の支柱にそれぞれチューブの端を括りつけます。(ひもでもビニールタイでもいいです。)
チューブに水を流し込みます。
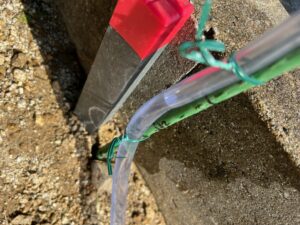
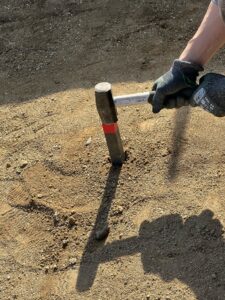
杭と支柱の位置決め
高さを測りたい場所のスタート地点とゴール地点に支柱と杭を挿します。
杭に水の高さのところでしるしを付けます。
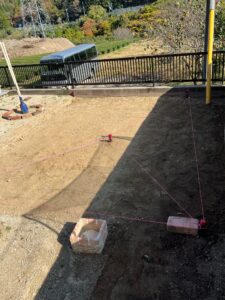
水糸を張る
しるしを基準に高さを決めて水糸を張ります。
残念なお知らせ
水平を測って高さを合わせてみたら、一部掘りが足りないことが発覚!
後日、水糸を外して追加で掘ることになりました。
 べあ
べあレーキを作ったよ
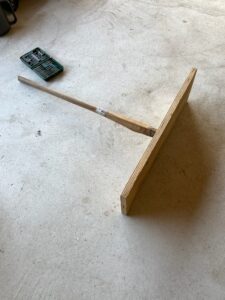
この日はレーキを自作しました。
 ぐらべあ
ぐらべあ ぐらべあ
ぐらべあ古い斧の柄と板をねじで合体!
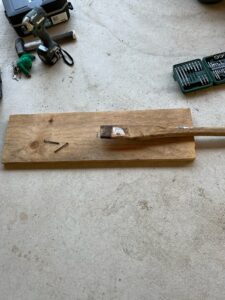
レーキ(トンボ)の出来上がり♪
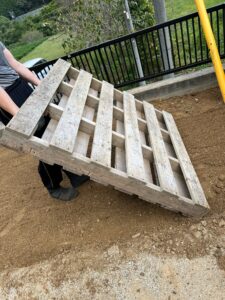
前回は、木製パレットで均していましたが、こっちの方が軽くて均しやすいです。
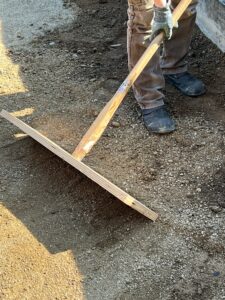
ダンパーの役割も果たします!
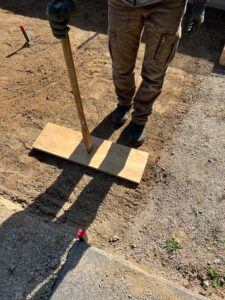
本日はここまで!
次は、水糸外して掘りなおしです。
ぐら番外編(2021年11月20日)
砕石購入
砕石を購入しました!
皆さん、DIYで砕石を使うときにどこで購入していますか?
ぐらべあ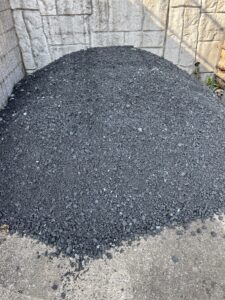
今回、2立米(㎥)の砕石を建材店から購入しましたが、1立米(㎥)4,000円でした。同じものをホームセンターで購入したら2~3万円はするそうです。
庭をDIYしたり駐車場DIYする方、砕石はまとめて建材店で購入するのがお勧めです。
べあお店によって価格設定が異なるので、お店に問い合わせするといいですね!
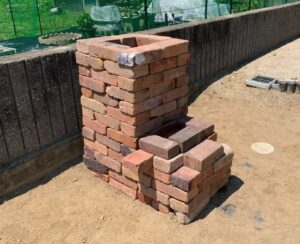
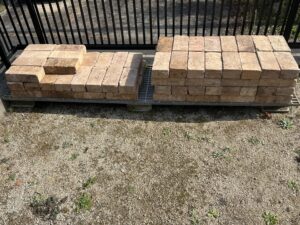
レンガ購入
レンガを追加購入しました。
もともと前に買っていたレンガがあるのですが、花壇を作ったりしていて足りなくなりそうだったので、ホームセンターに行って追加で100個買ってきました。
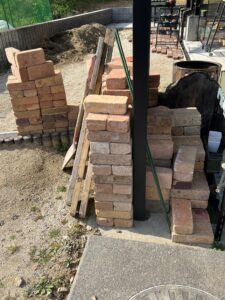
追加で買い足しました。
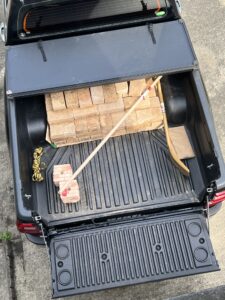
駐車場から階段で庭までレンガを運ぶのは大変なので、車から梯子を使って庭に運びます。
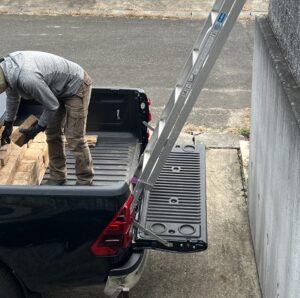
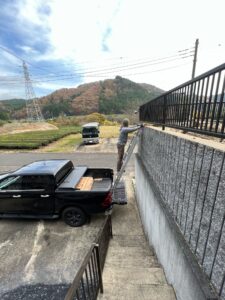
 ぐらべあ
ぐらべあ無事100個のレンガを庭に運びました。
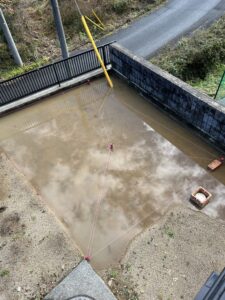
事件発生!?(2021年12月1日)
昨日の夜から季節外れの嵐が来ました。
夜中から土砂降りの雨が続き、朝、庭を見ると巨大なプールのような光景が!!
水は、夕方になっても引きませんでした。
 ぐら
ぐら べあ
べあこれをきっかけに水はけについて色々調べて、このままのやり方では水はけが悪くて植物が育ちにくいので作戦変更し、「暗渠」的なものを作り排水を促すことになりました。
 ぐらべあ
ぐらべあそんな訳で、だいぶ大掛かりな庭づくりになってきましたが、慌てずマイペースでやっていこうと思います。
第三弾は、「暗渠」作りのための穴掘りです!
最後までご覧いただきありがとうございます。
ランキングに参加しています!
ポチっと押していただけたら嬉しいです♪
↓ ↓ ↓