 べあ
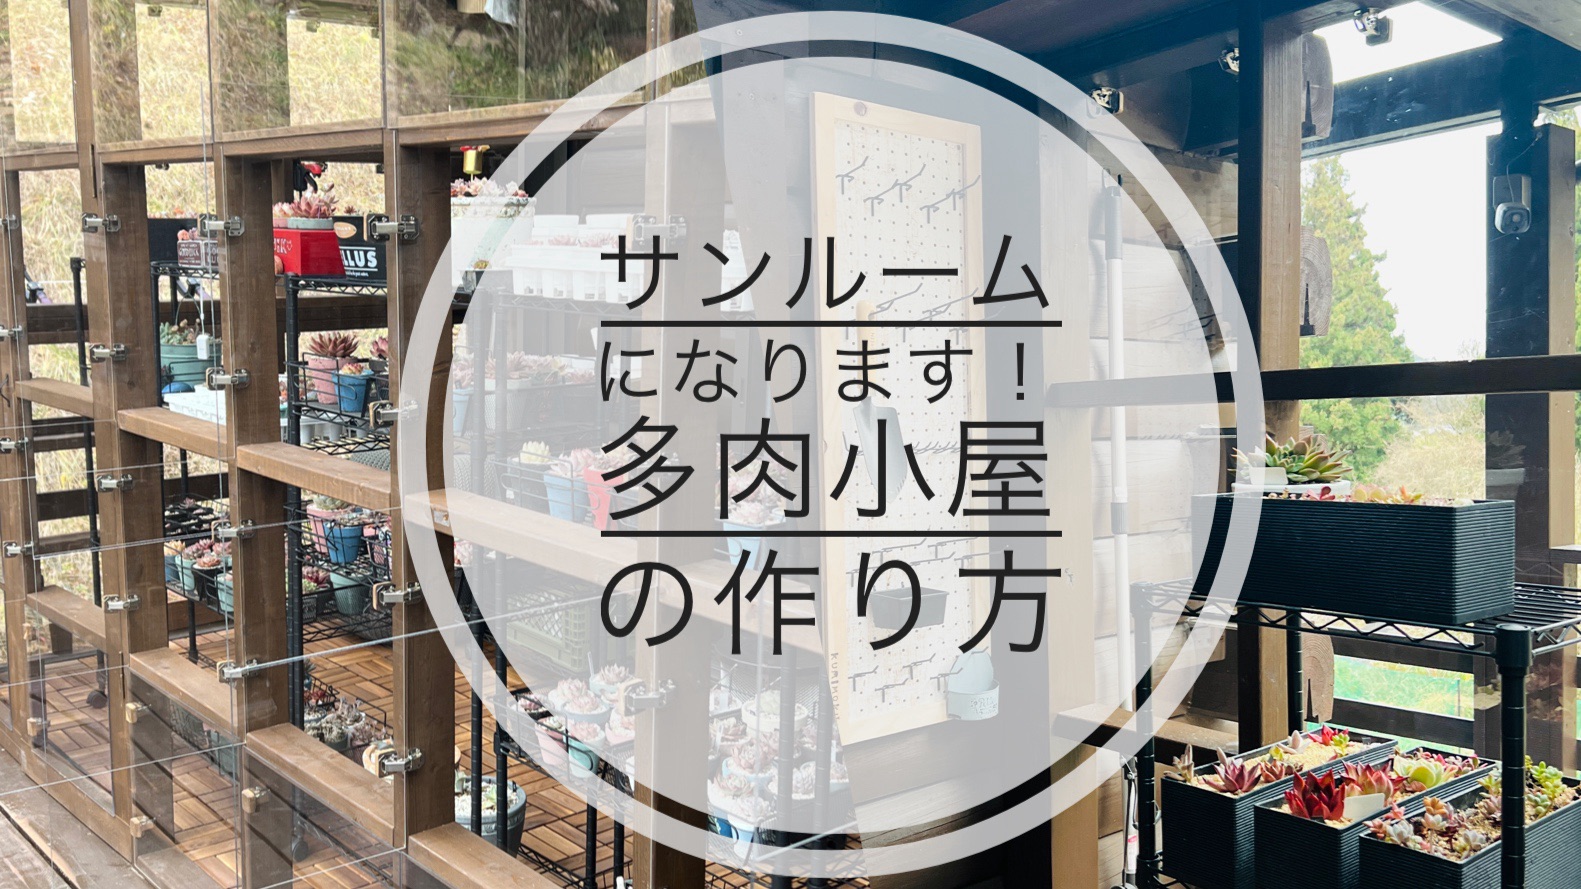
べあ今回のDIYはサンルーム兼多肉小屋です!
家のリフォームをするときにサンルームを作る予定でした。
でも予算の関係で断念。
その後、多肉植物にはまった私は、サンルーム兼多肉小屋が欲しくなりました。
そこで、予算がないなら自分たちで作ろう!とサンルーム兼多肉小屋を作ることにしました!
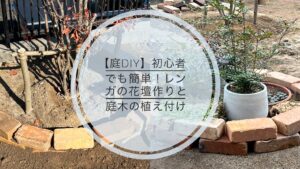
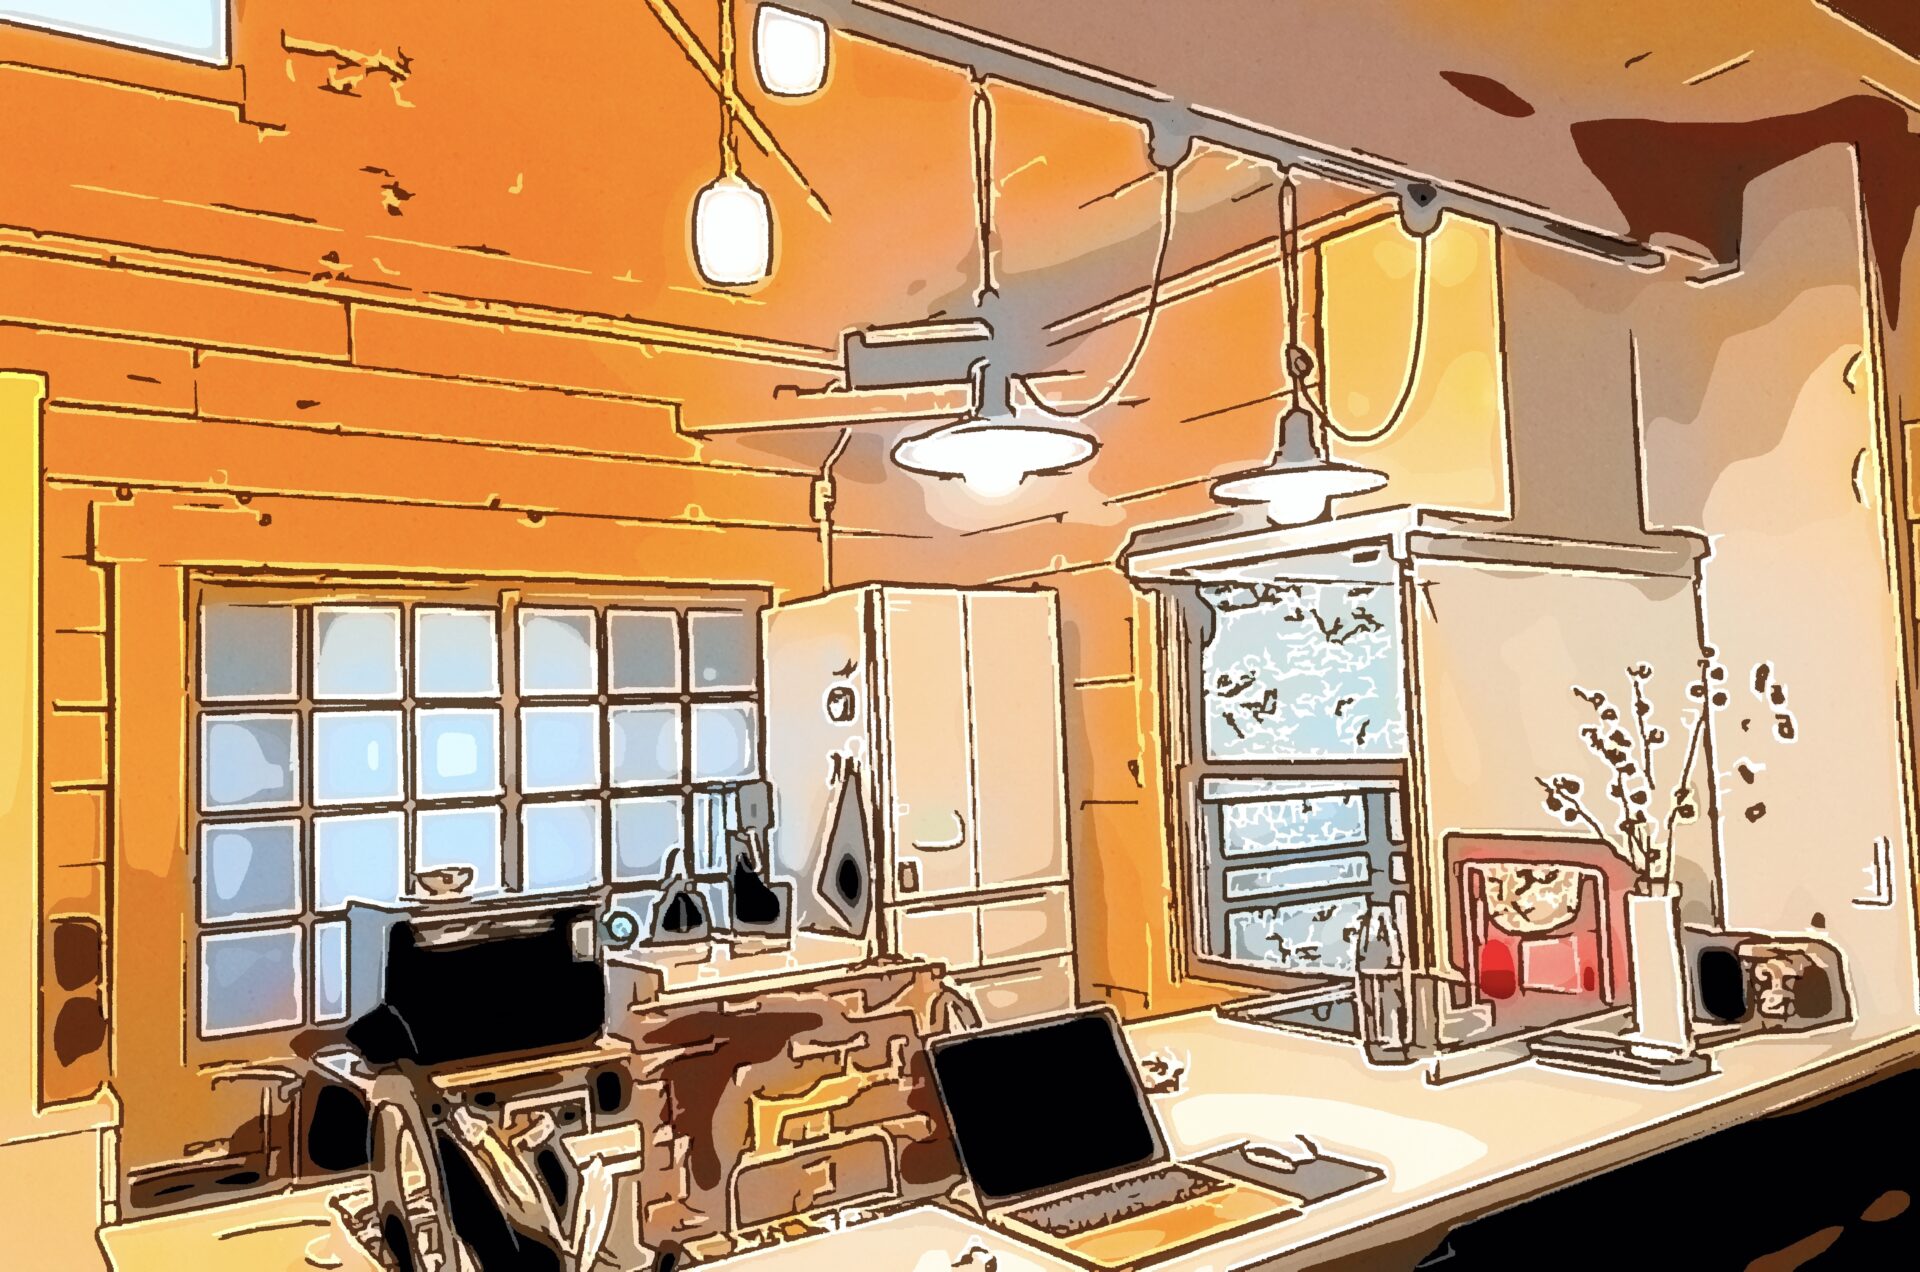
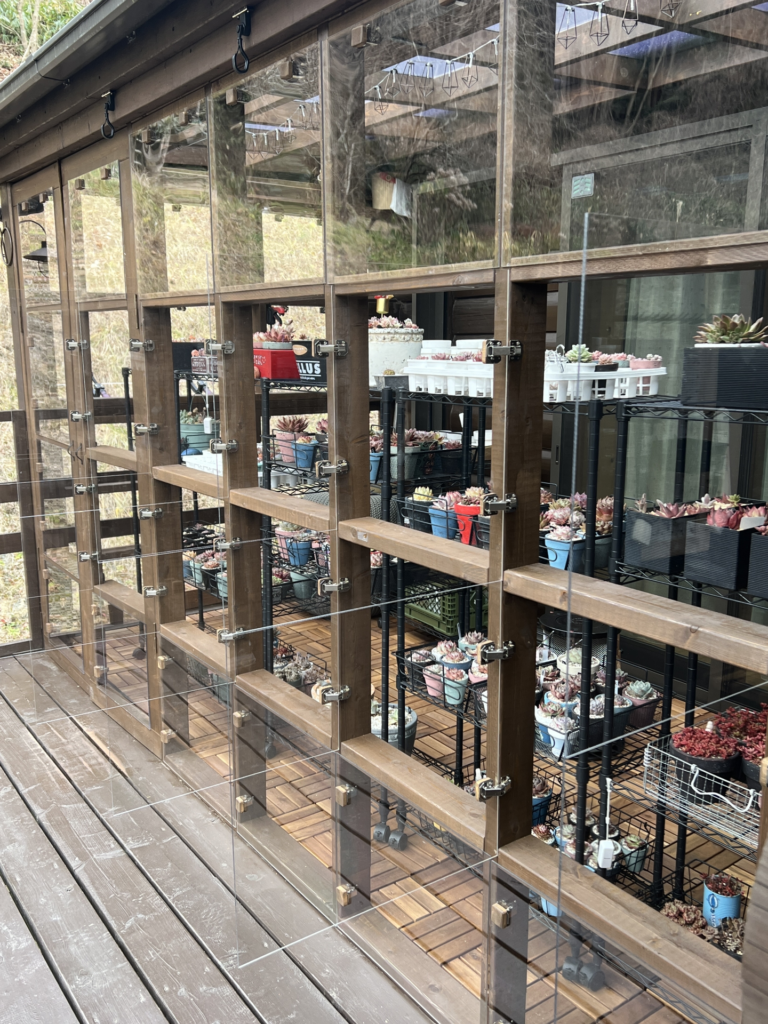
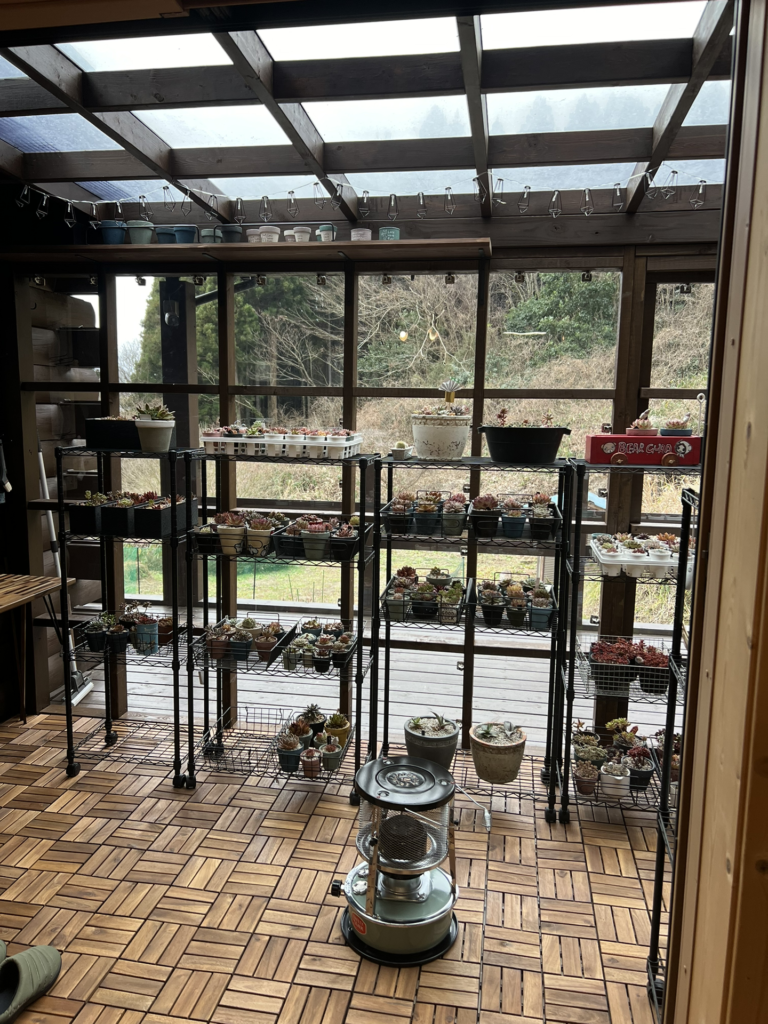
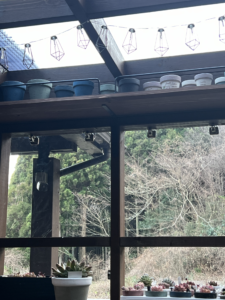
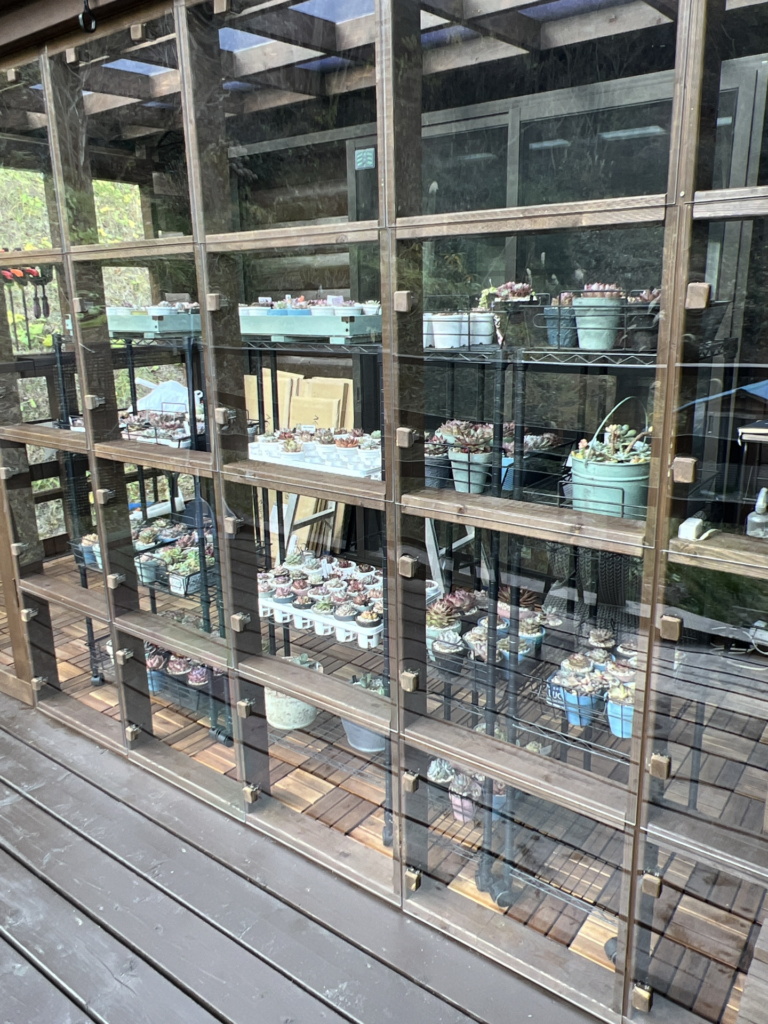
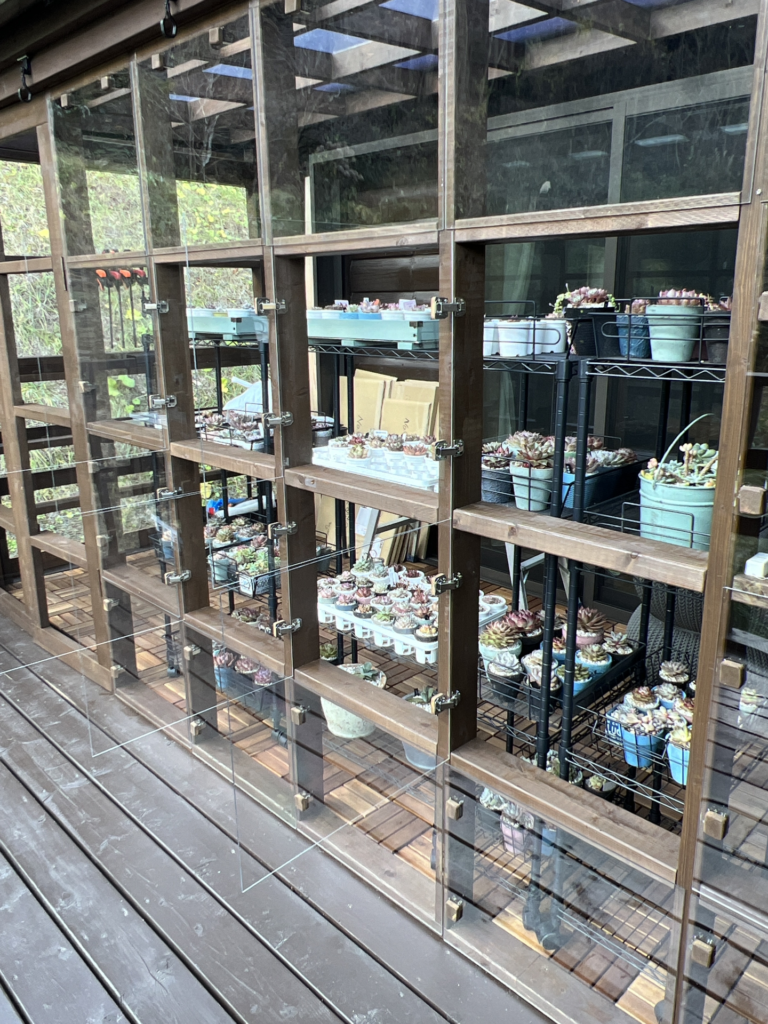
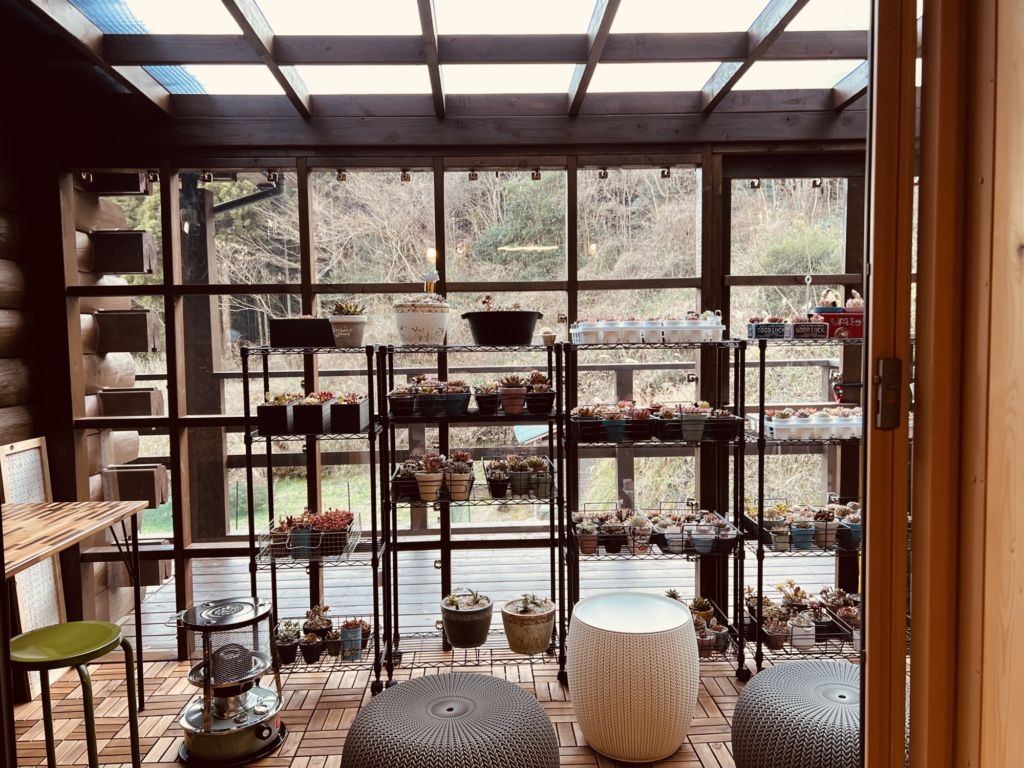
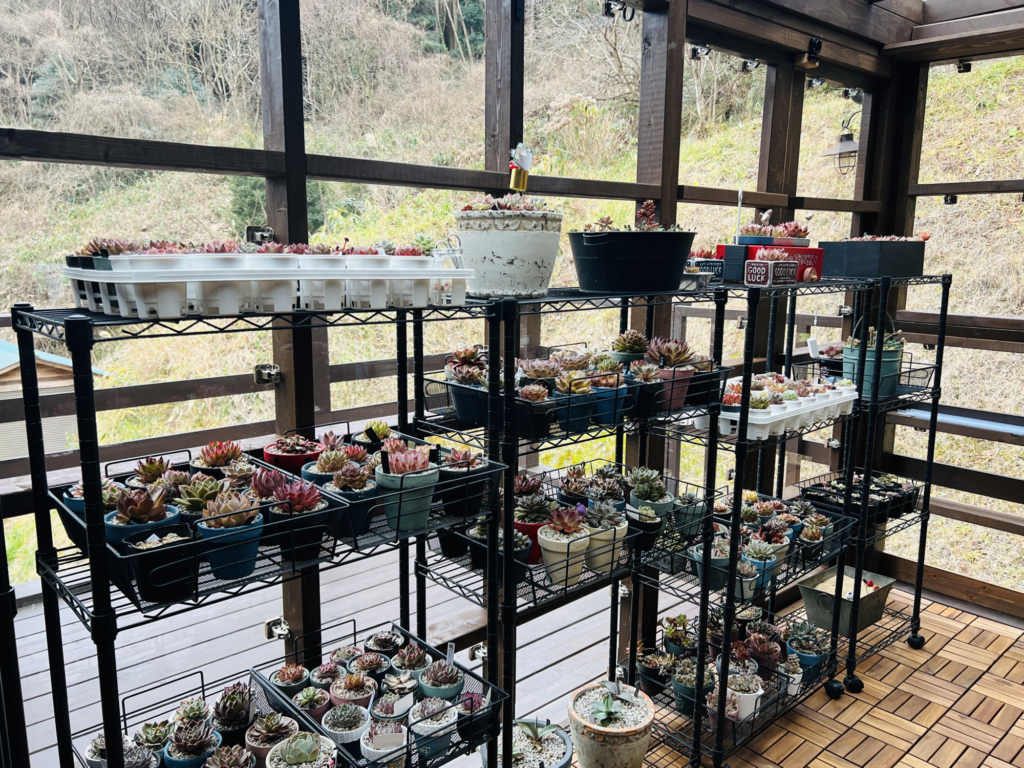
【完成した多肉小屋】
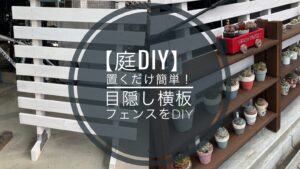
- サンルームにもなる多肉小屋の作り方
 べあ
べあ全く同じではなくても、簡単な窓の作り方や壁の作り方など参考になると思います!
素人でも作れるので是非ご覧になってみてください。
サンルーム兼多肉小屋の作り方
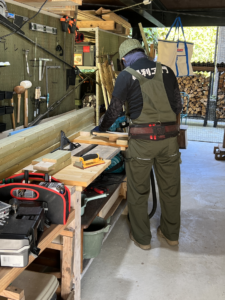
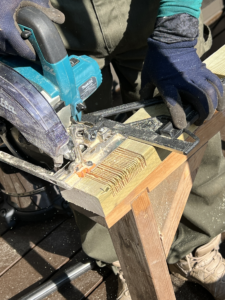
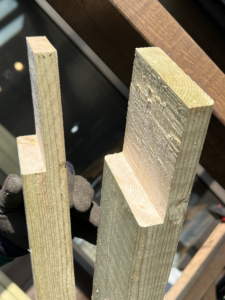
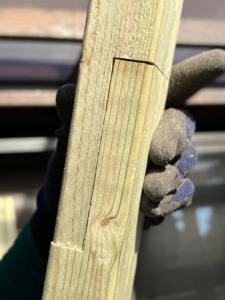
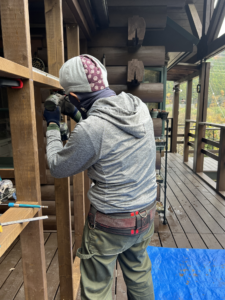
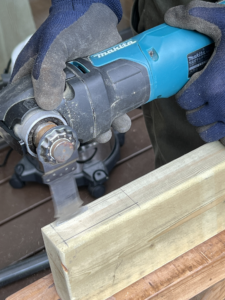
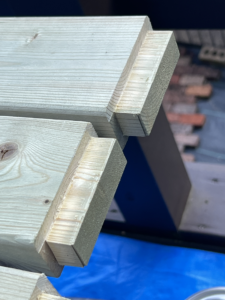
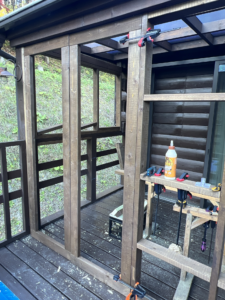
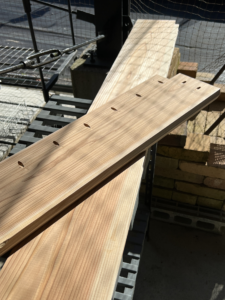
手順1:柱や窓枠を作る
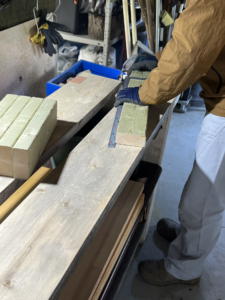
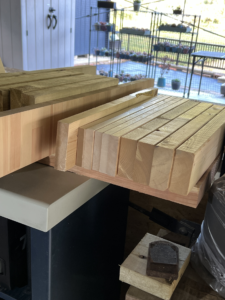
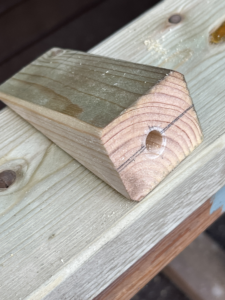
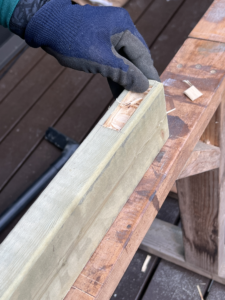
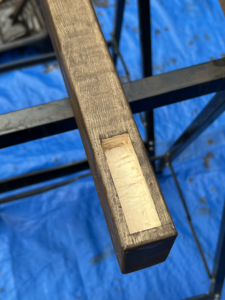
ホームセンターに売っていたサイズでは長さの足りない箇所があったので、柱の長さをつぎ足します。
べあ方法は『相欠き継ぎ』です。
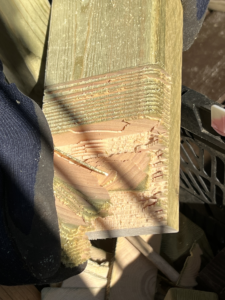


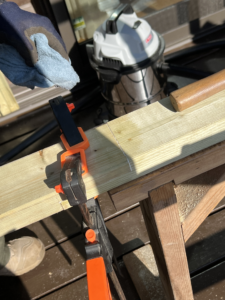
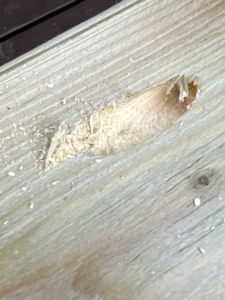
ホゾ穴埋めのやり方

作った柱、窓枠の塗装をします。
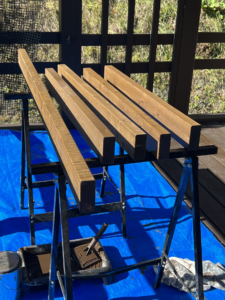
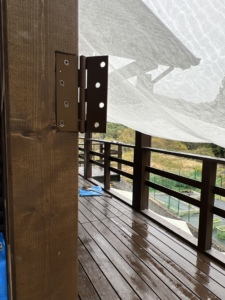
塗装が乾いたら、柱・窓枠を設置します。
デッキの屋根のあるこの部分に壁を作りサンルーム兼多肉部屋にしていきます。


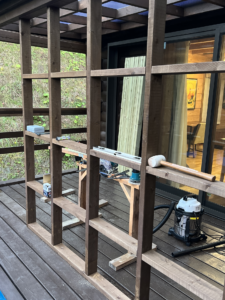
西側は元々あった手すりを利用して足りない箇所に板を設置し格子状にしました。

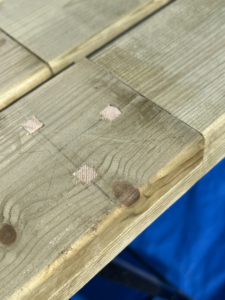
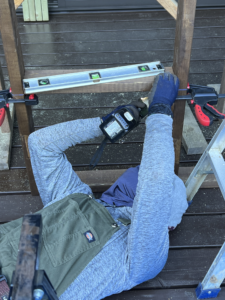
横板のビス留め方法

 べあ
べあおいらは自作のガイドですが、斜めドリルガイドは買うことも出来ます。

手順2:扉の作成、設置
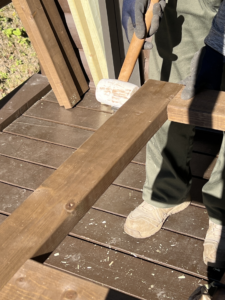
べあ扉は『ほぞ継ぎ』で作成しました!

完成した扉を柱に蝶番で設置し、窓枠代わりの横板をビスで留めます。
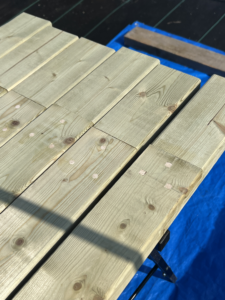
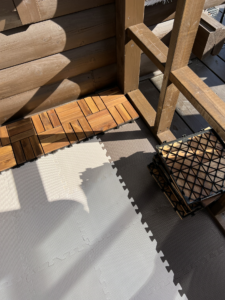
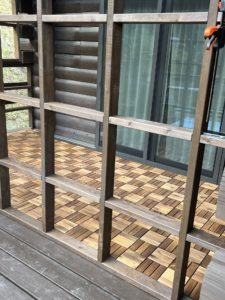
手順3:床を敷く
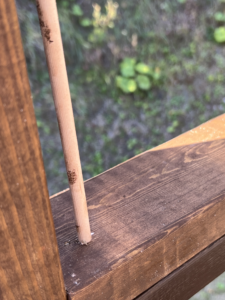
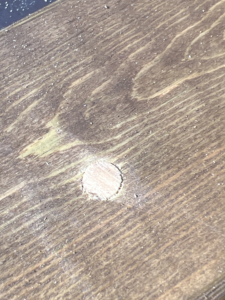
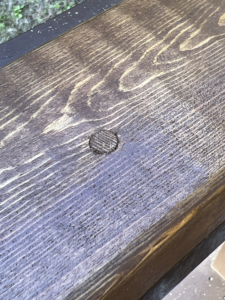
デッキの床は隙間が空いているので防寒と隙間から虫が入ってきたりしないように前面にジョイントマットを敷きます。
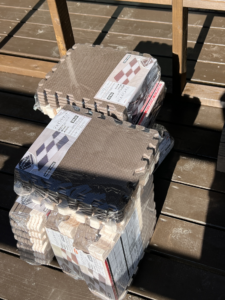
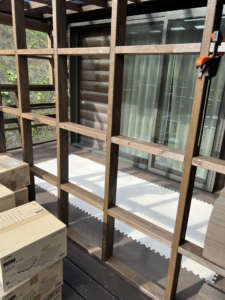
さらにその上にジョイントデッキを敷きます。
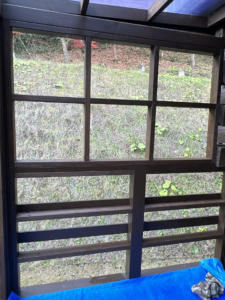
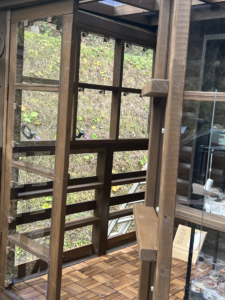
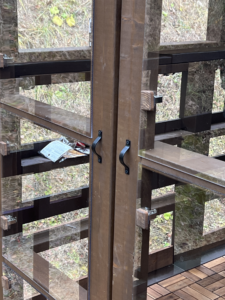
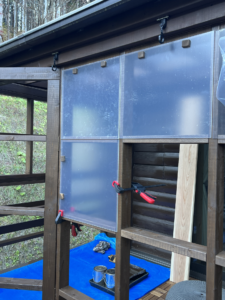
手順4:窓の作成
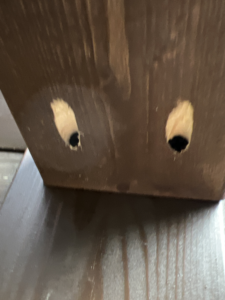
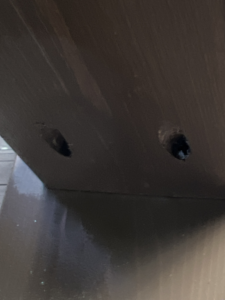
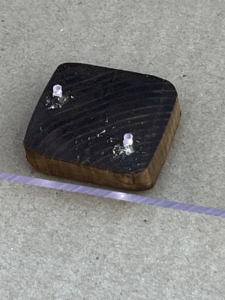
べあスライド蝶番のビスがはみ出してしまう&ビスの裏が見えてしまうのを防止するため、余った木材でスライド蝶番のビス受けを作成しておきました。

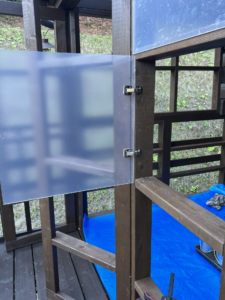
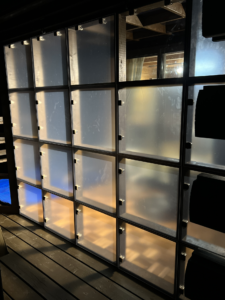
同様に扉にもポリカを設置し、扉の窓も全窓開閉可能にし、取っ手も付けて扉も完成です。
 ぐら
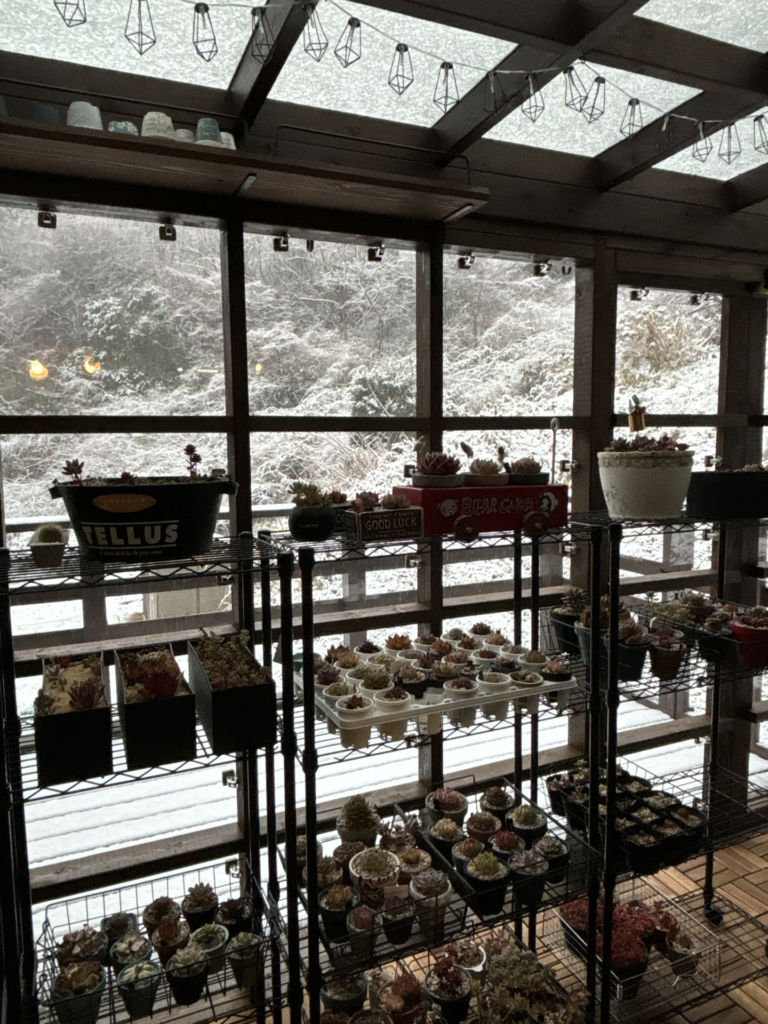
ぐら扉も全面窓&開閉可能にしたので、暗くならず風通しもばっちりです♪

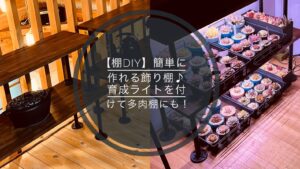
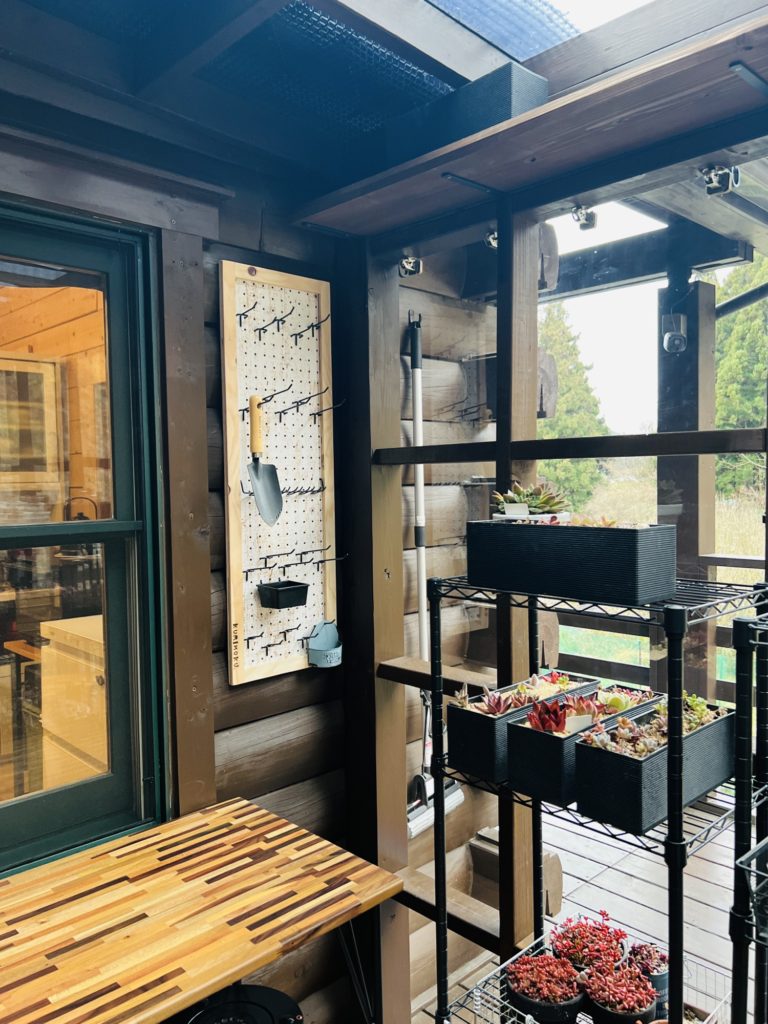
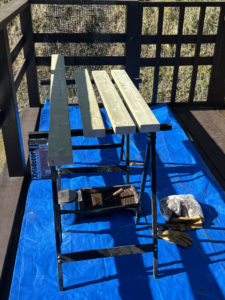
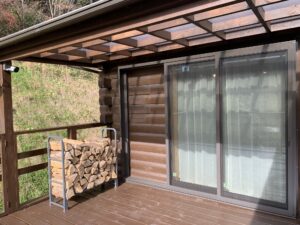
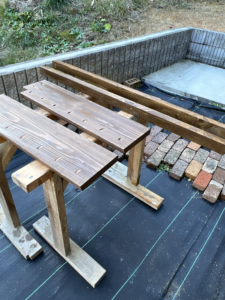
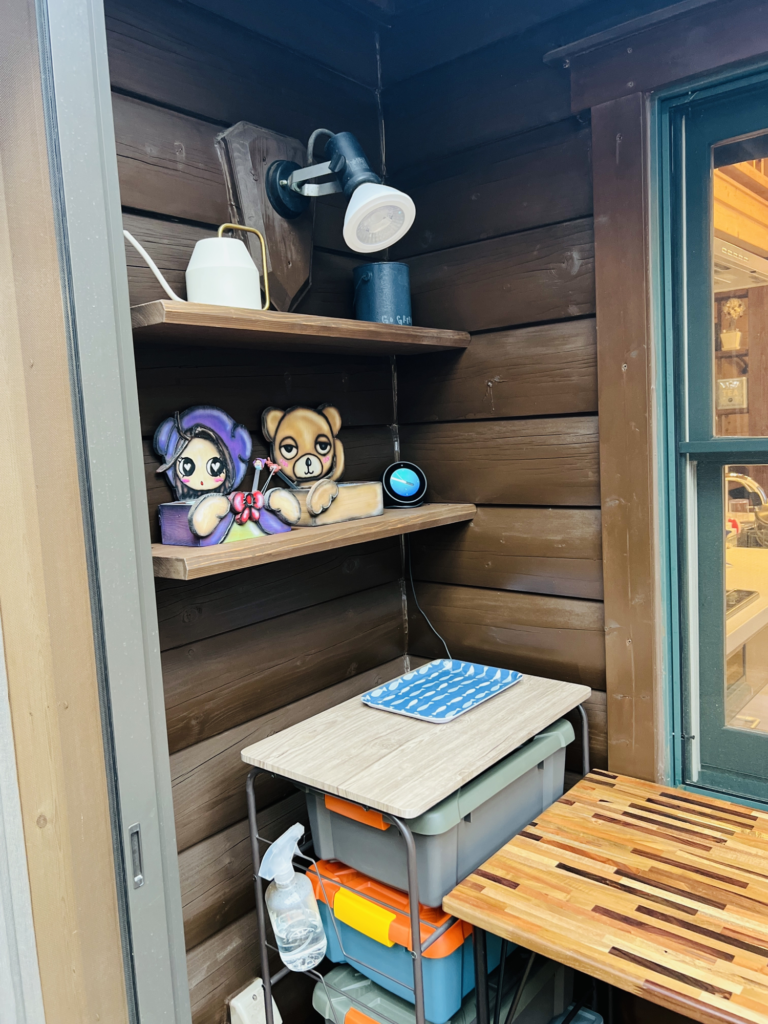
手順5:棚の作成
ここからは、お好みで使いやすいようにカスタマイズしていきます。
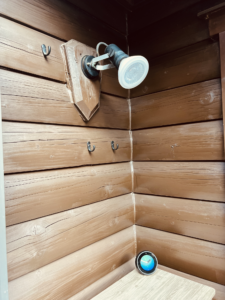
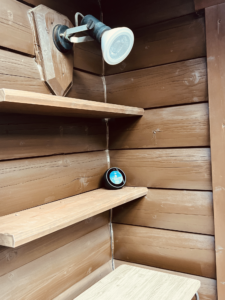
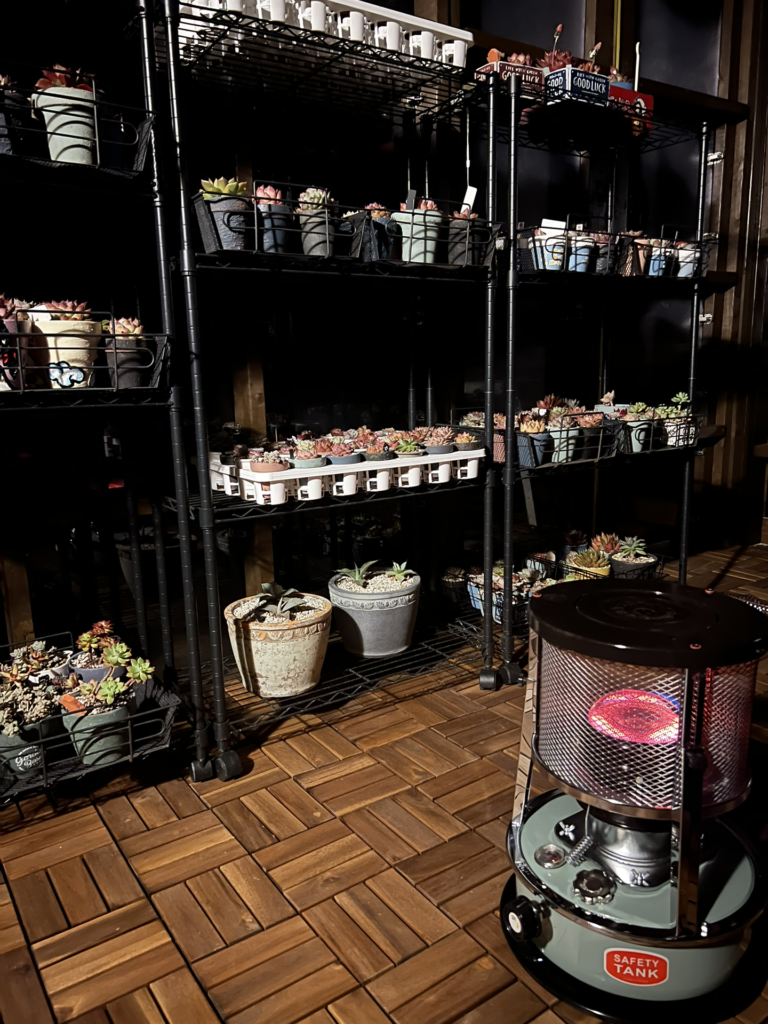
べあ我が家の場合、リメイク鉢を置いておく棚や、多肉事の道具を置いておく棚を設置しました。

棚の設置方法
- コーナー部分(ログ壁):ビス穴を開け、ビスで直接設置
- 南面(2×4板):棚受けを利用して設置
べあこれで多肉小屋完成です!!
完成した多肉小屋
材料
材料(本体)
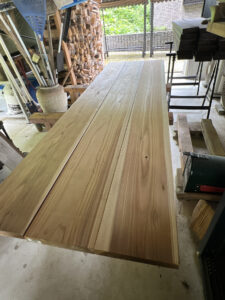
- 防腐2×4板
- ポリカーボネート
- スライド蝶番
- 蝶番
- ビス
- 木工用ボンド
- 塗料材
- 取っ手
- ジョイントマット
- ジョイントデッキ
材料(棚)
- カフェ板
- 棚受け
- マルチバー
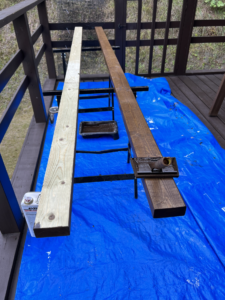
防腐2×4板
今回は屋外で使用するので少しでも長持ちするように薬剤を加圧注入し浸透させてある防腐板の2×4板をメインに使用しました。
防腐板はホームセンターなどで購入可能です。
べあサイズや量は作る小屋の大きさに合わせて用意しよう。
(一部正角の角材も使っています。)

ポリカーボネート
木材に続いて今回のメイン材料のポリカーボネート。
色や厚みなどたくさん種類があるので好みのものをチョイスしましょう。
(我が家は透明の厚さ3mmのものを使用しました。)
今回はサイズを指定してカット済みのものを購入。
 ぐら
ぐら数が膨大だったのでカット済みのものにしましたが、安くしたいなら自分でカットも有り!

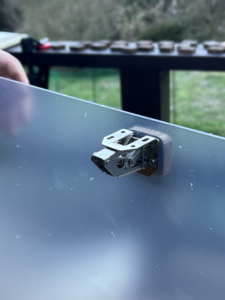
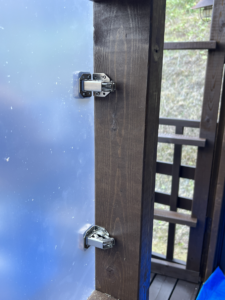
スライド蝶番
窓は全窓スライド蝶番で設置しました。
べあ引き違い窓を作るより断然簡単なので、DIY初心者でも簡単に開閉可能な窓が作れます。

蝶番
扉は通常の蝶番を使用して設置しました。
 ぐら
ぐらこちらは通常バージョンの蝶番を購入。
扉が大きめなので、大きめの蝶番にしました。

ビス
格子状の枠を作るのに大量のビスを使用しました。
また、棚受けやマルチバーなどにビスがセットされていない場合、小さめのビスも必要です。
ぐらビスの長さや色は使う箇所によって調整してください。
※今回は主に70mm、38mmの2種類を使用しました。

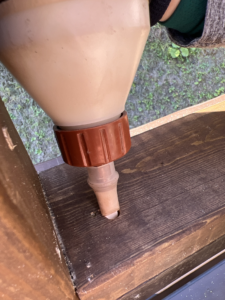
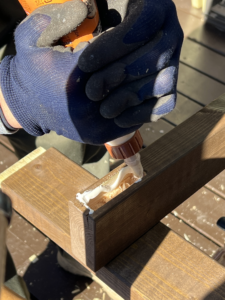
木工用ボンド
扉や柱の接合に木工用ボンドを使います。
べあGORILLAシリーズがおすすめです!

塗料
屋外なので保護も兼ねて色を塗ります。
自分に合った塗料と色を選びましょう。
今回、我が家ではデッキやログ壁に合わせてキシラデコールを使用しました。
 べあ
べあ塗料のタイプや特性について、こちらの記事に詳しく載っています。
どんな塗料を使ったらいいのか悩んでいる方は是非読んでみて下さい。
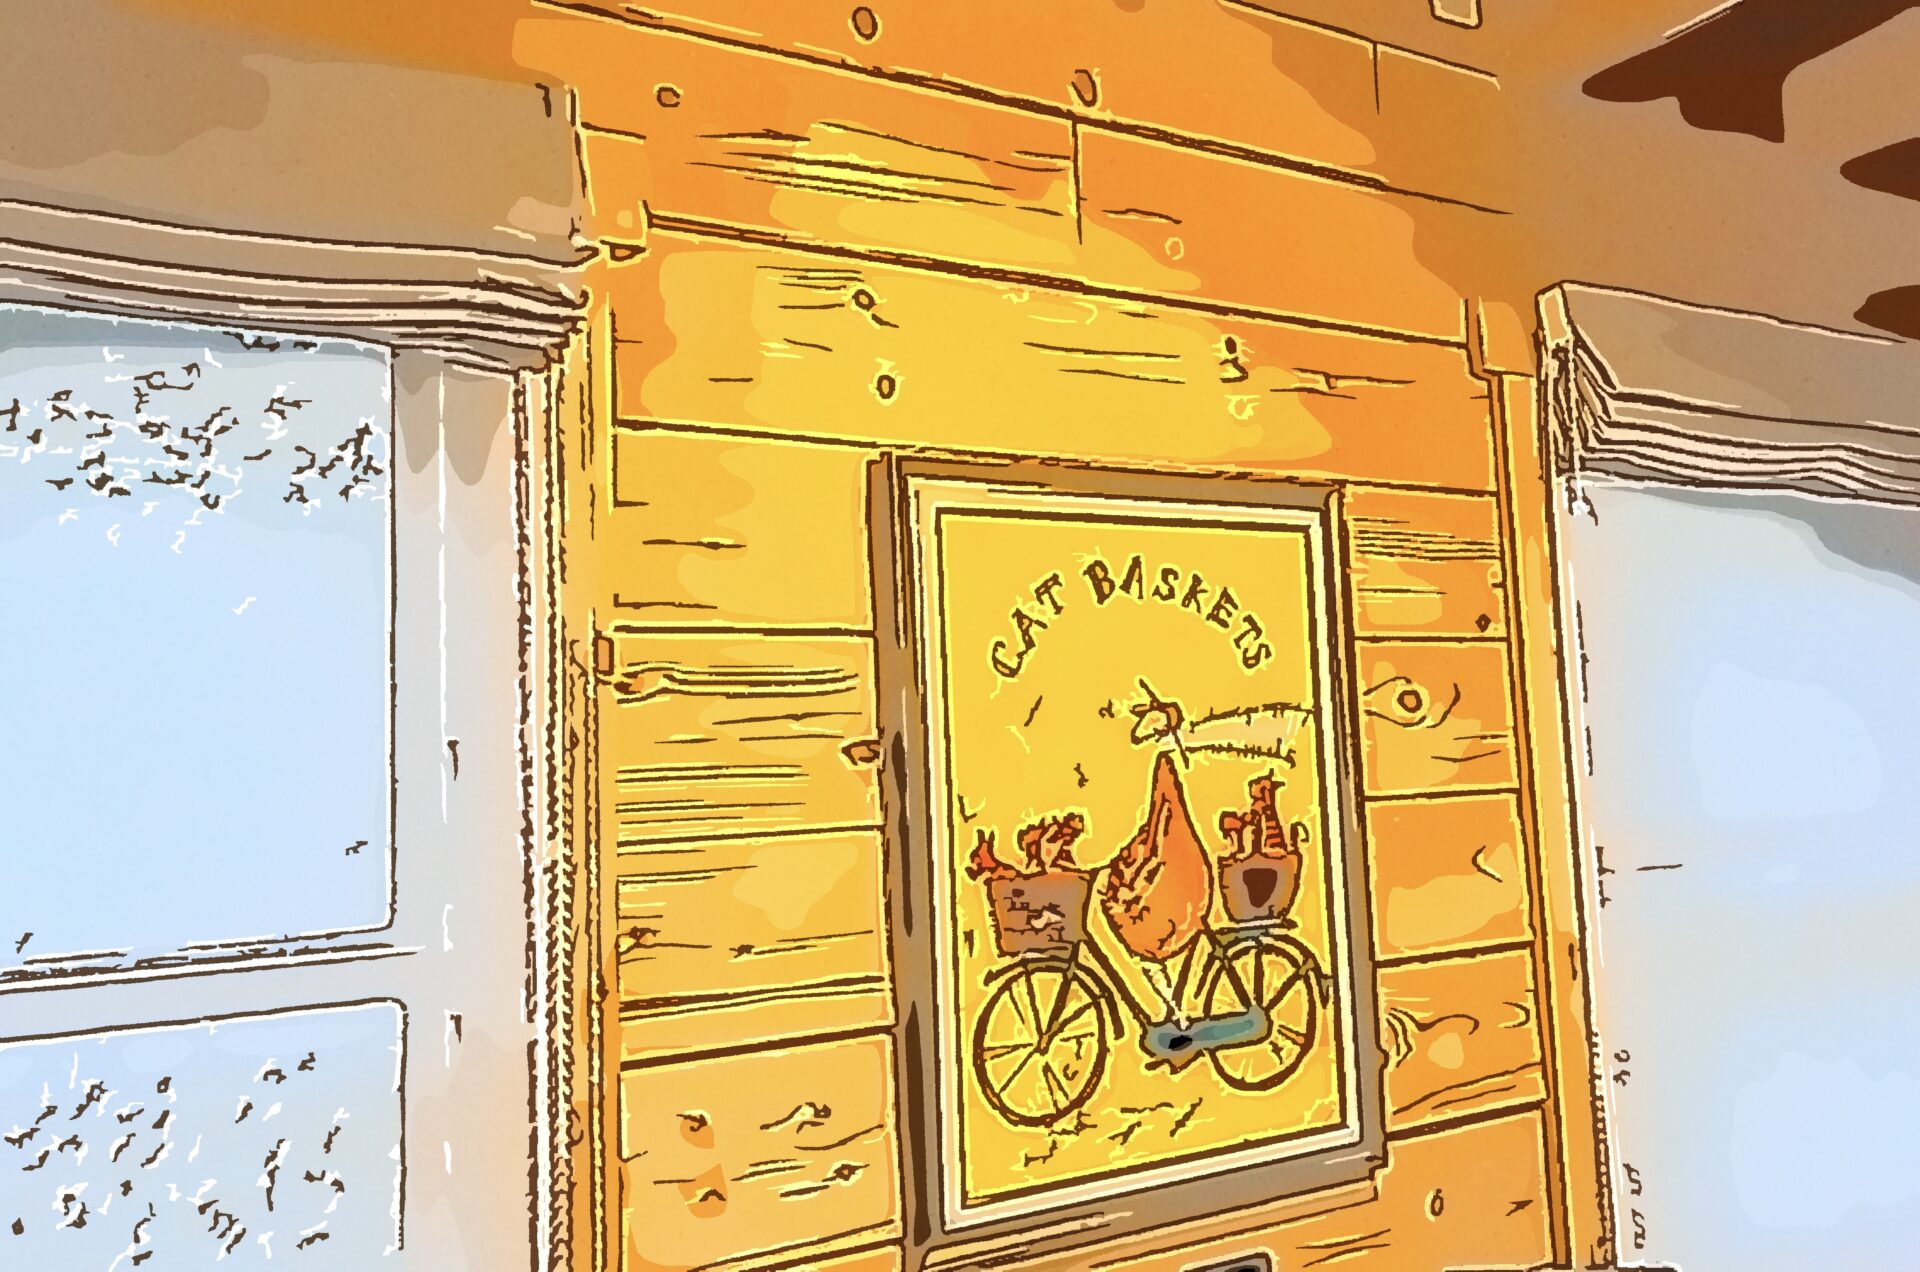
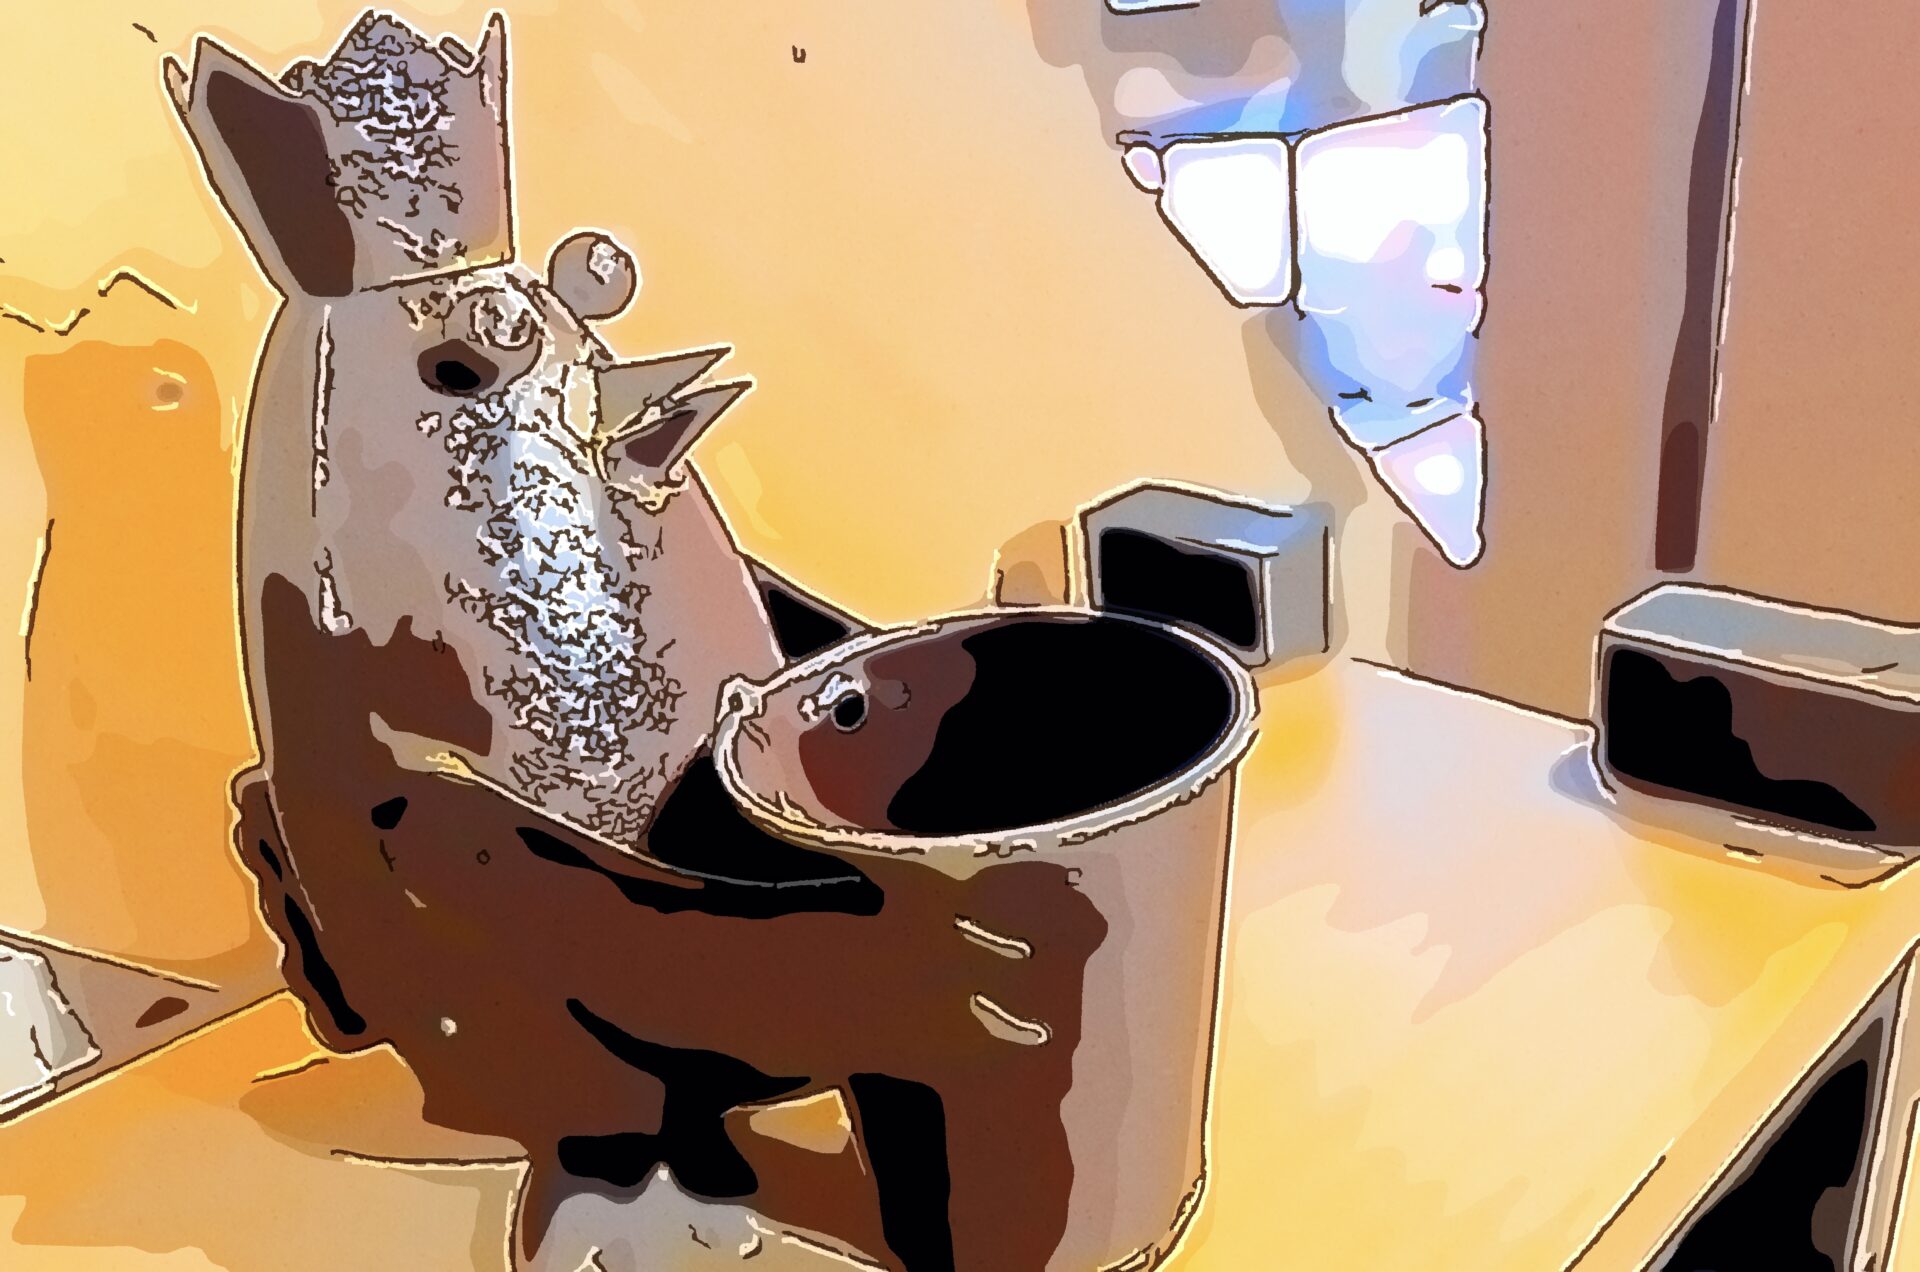
取っ手
扉に設置する取っ手。
ぐらお好みの取っ手を探してみてください。
我が家は、木の色に合わせてシンプルなマットタイプの黒にしました。

ジョイントマット
木製のデッキは隙間が空いているので、防寒と虫の侵入を防ぐためジョイントマットを敷きます。
ぐらこれはかなり効果がありました!
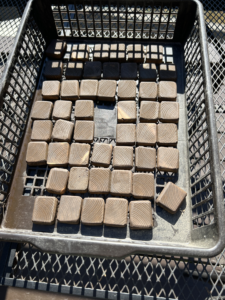
ジョイントデッキ
ジョイントマットの上に更にジョイントデッキを敷いています。
 ぐら
ぐらこれは主に見た目を良くするために敷いています。

ここからは、棚を取り付ける場合の材料です
カフェ板
デッドスペースになりそうな場所に棚を設置しました。
その棚はカフェ板を使用。
ぐらお手軽なお値段でお洒落なので、カフェ板はDIYで大活躍します。

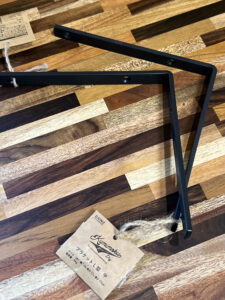
棚受け
カフェ板の棚受けにはL型のブラケットを使いました。
しっかり固定されるので安心です。
べあ我が家ではカインズに売っているブラケットL型(中)※を使いましたが、デザインやサイズは使う棚の大きさや好みで選んでください。
※幅1.5×奥行17×高さ17cm

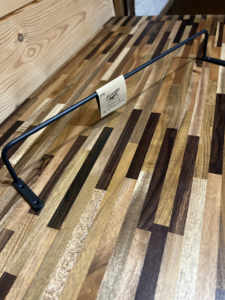
マルチバー
地震の時などに棚に置いたものが落下しないように棚の手前にマルチバーを設置しました。
ぐらこちらの落下防止のバーもお好みのものでOKです。
アイアンのタオルハンガーなどで代用も可能です。
飾るものによっては無くてもOK!

多肉小屋をDIYするのに必要な道具
【必要な道具一覧】
- ドライバー
- サンダー
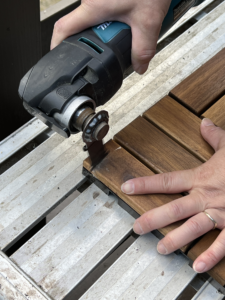
- 丸ノコ
- 塗装用品
コテバケ・ハケ・バケツ・手袋 - ノミ・のこぎり・トンカチ
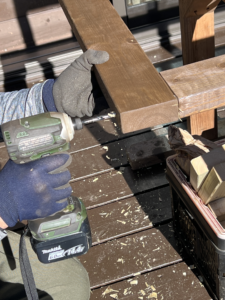
ドライバー
棚をビス止めするのにも、窓にスライド蝶番を付けるにもドライバーは必須です。
電動ドライバーとドリルビットがあると更に便利!
※下穴を開けられるので綺麗にビス止めが出来る為
ぐらお手頃なお値段で電動ドライバーセットがあるので、これを機に用意するのも良いですね。
 べあ
べあ本格的にDIYを始めるなら私と同じマキタのインパクトドライバーセットがおススメです。
 ぐら
ぐらインパクトドライバーは音が大きすぎて…という方はドライバードリルがおススメです!

【インパクトドライバーとドライバードリルの違い】
インパクトドライバーはパワーがあります。
- 硬い場所への作業にはこちらの方が便利。
- 難点は音が大きいこととパワーがある分取り扱いが難しいことです。
ドライバードリルは繊細な場所への作業に向いています。
- 音も静かで軽めなので女性や初心者向きです。
- 難点はパワーがインパクトドライバーより小さいので作業箇所が硬いと作業効率が悪くなることも。
べあ我が家ではログ壁にビス留めすることも多いのでインパクトドライバーを選びました。
サンダー
塗装前に表面をやすり掛けしますが、広い面を削る場合、サンダーを使った方が効率的です。
サンダーにサンドペーパーをセットして使います。

手動のサンダーより電動のサンダーの方がより効率的です。
べあDIYをがんがんやっていきたいなら電動サンダーがあると便利ですよ!
 ぐら
ぐらDIY初心者にはお手頃価格のミニサンダーもおススメです。

電動ドライバーや電動サンダーはあると楽に作業が進められるので使うことを推奨します。
DIYを今後もやるのだったら購入するのがおススメですが、今後もDIYをやるかはっきりしない人や、使い心地を確かめたい人はホームセンターなどで行っている「工具レンタル」を利用してみるのもいいと思います。
カインズホームなどはレンタルの他に「カインズ工房」というレンタル作業場があります。(※1)
作業する場所もない場合は利用するのもおススメです。(加工材料持込の場合、有料ですがカインズで加工材料を購入した場合は2時間無料になります。)
(※1)店舗によっては設置されていない場合があるので、最寄りのカインズに事前に確認を取ってください。
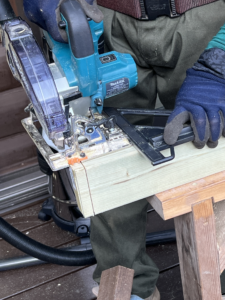
丸ノコ
木材をカットするのは丸ノコが「早い、綺麗、簡単」でおススメです。
 ぐら
ぐらただし、そんなにがっつりDIYをする人以外は、カットサービスのある所で木材を購入し、カット済みのものを購入するのもいいと思います。
べあこれからもガンガンDIYしていくなら丸ノコはとっても便利なので購入をおススメします!
塗装に必要なもの
コテバケ
広い面積を塗るのにこれがあると便利です。
2×4の板を塗るのはハケよりこっちの方が断然早いので、1つ用意しておくのがおススメです!

ハケ
細かい箇所はハケで塗ります。

バケツ
塗料を入れる缶。
蓋つきだと塗料が余った時に蓋をして次の塗装まで保管しておけるので蓋つきがおススメです。

手袋
手袋は、軍手でも使い捨てのニトリル手袋でもどちらでもOKです。

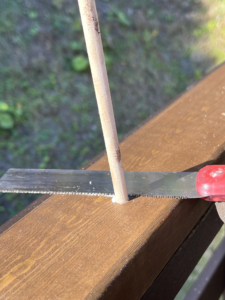
ノミ・のこぎり・トンカチ
ノミ・のこぎり・トンカチは扉を作ったり、ジョイントデッキの加工などに便利です。
トンカチは、金属のものの他にゴムハンマーもあった方が良いでしょう。
ノミ

のこぎり

トンカチ


反省点
今回は大物のDIYに挑戦してみましたが、やってみて色々失敗したり、こうしておけば良かったと思うことがありました。
同じように小屋をDIYする人の参考になったら嬉しいなと思うので、失敗や反省点を書いておこうと思います。
【反省点】
- 窓の固定箇所の検討不足
- 扉のサイズ
- 木の反りや動きの配慮不足
- ポリカの浮きの配慮不足
窓の固定箇所の検討不足
当初、ポリカーボネートは上部にスライド蝶番を付けて開閉させる予定でした。
しかし、上部だとポリカの重みに負けてポリカ窓が固定されずに勝手に閉まってしまうことが発覚!
一番上の段以外は上部→左部にスライド蝶番を付ける場所を変更し横に開くようにしました。
ぐら横開きの窓なら重力に負けることなく窓が開いてくれます。
一番上の段は上開きにすることで雨が降ってきたときに小屋の中に吹き込みにくくなるので、そのまま上開きにしてあります。
ここには、ストッパーを別途付ける予定です。
扉のサイズ
扉のサイズをぴったりに作ってしまったために、寒い日はスムーズに開閉する扉が、気温の高い日は扉がデッキの床に引っかかるようになってしまいました。
ソフトウッドで作る場合は、木が縮んだり膨らんだりすることを考慮して、扉自体は若干小さめに作り、扉の受けを作って隙間をカバーする方法にすれば良かったを反省。
べあ夏までに扉を外して上下をカンナで削ろうと思います。
木の反りや動きの配慮不足
室外で使う&ソフトウッドで作った扉は、何も対策していないと「木の反り」が出やすいです。
反り防止の金具を反る前に付ける必要がありました。
ぐら我が家では、反ってから対策になったので大変ですが、反る前に金具を付けておけば問題ないと思います。
ポリカの浮きの配慮不足
気温の低いときはぴったりと閉まっているポリカ窓ですが、日中気温が高くなってくるとポリカーボネートが熱で動き扉が数㎝自然に開きます。
これは想定外でしたが、それだけ日があたるということは小屋の中の温度も上昇してしまうし、窓を開けて換気が必要なのでちょうどいいかなと思い対策は不要となりました。
ただし、このままだと春~秋は隙間から虫が侵入し放題になってしまうので、網戸を付ける対策を今後していこうと思っています。
終わりに
素人にとってはちょっとハードルの高いサンルーム兼多肉小屋のDIYでしたが、もともとデッキと屋根があったので何とかいい感じに完成させることが出来ました!
多肉植物が趣味の私にとって最高の遊び場になっています。
リビングと続きになっているので、食事をしながら植物や外の景色を楽しめたり、寒い日でも暖かい小屋の中で多肉の植え替えやリメイク鉢作りなどで楽しめます。
ぐら皆さんも、是非サンルームや多肉小屋を作ってみませんか?
べあ作り方をもっと詳しく聞きたい方は、X(旧Twitter)でどしどし質問してください!
関連ブログご紹介
多肉小屋の中にある多肉植物の紹介や育て方などが姉妹ブログ『ぐらたに』に載っています。
ぐら多肉植物に興味がある方、是非読んで見てください♪

べあぐらプロダクトご紹介
『べあぐら』で開発した商品をご案内します。
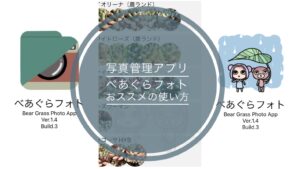
べあぐらフォト
写真管理アプリ『べあぐらフォト』をリリースしました。
『べあぐらフォト』は、iPhoneで撮影した写真やフォトライブラリに保存されている写真を、簡単に管理できる便利な写真管理アプリです。


べあぐらフォトの詳しい活用法はこちらの記事に載っています。
ぐら気になる方はこちらの記事をチェック
べあぐらLINEスタンプ
べあぐらのLINEスタンプ・絵文字をリリースしました。


最後までご覧いただきありがとうございます。
ランキングに参加しています!
べあぐらのイラストをポチッと押して頂けたら嬉しいです♪